Pests
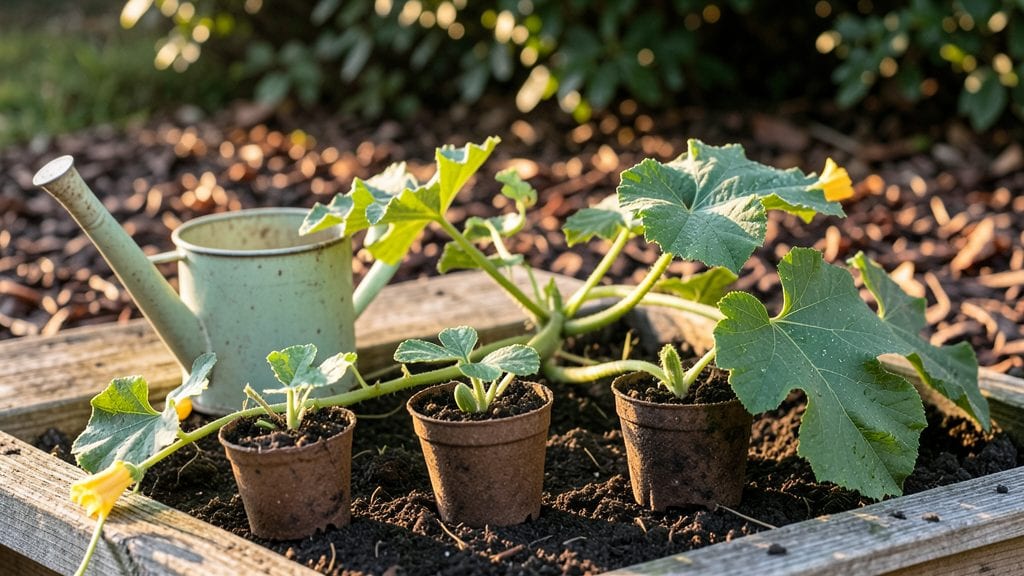
Sprouting pumpkin seeds for eating turns kitchen scraps into crunchy, nutty snacks faster than you’d expect. 🌱 I’ve sprouted seeds from store-bought pumpkins and garden varieties—both work, but the key is starting with fresh, plump seeds that haven’t dried out.
The process is simpler than you think, and you’ll have edible sprouts ready in just 3 days with minimal effort.
The secret lies in soaking overnight, then keeping them in a warm, humid spot with indirect light. You’ll need a jar, mesh lid, and a damp paper towel—no fancy equipment. Most people worry about overwatering or mold, but with the right setup, it’s a foolproof method.
Even my first attempt turned out perfectly, and the nutty flavor made me want to try it again immediately.
By day 3, you’ll harvest tender sprouts with a crisp texture and rich taste—great for salads, snacks, or even blending into pesto. The best part? You’ll use seeds that would otherwise go to waste.
Just avoid bitter-tasting seeds (a sign of toxins), and you’re golden. Ready to turn those pumpkin guts into a snack?
Works for any pumpkin variety, from sugar pumpkins to butternuts. Here’s how to do it right the first time—no guesswork, just results.
📚 In This Guide
- What you need
- Instructions
- Tips and common mistakes
- Wrapping up and next steps
What you need
- ● Fresh pumpkin seeds: 1 cup (about 100–150 seeds). Choose raw, unsalted seeds from organic pumpkins or store-bought (unshelled) for best results.
- ● Water: Room-temperature or slightly warm (not hot!). You’ll need about 2–3 cups for soaking and rinsing.
- ● Fine-mesh strainer or sprouting lid: A colander with small holes (or a sprouting lid for jars) works perfectly. Avoid plastic mesh that can trap moisture.
- ● Wide-mouth jar or bowl: A 16–32 oz mason jar or shallow dish (8–10 inches wide) for soaking and draining.
- ● Paper towels or sprouting cloth: 2–3 sheets of unbleached paper towels or a sprouting mesh bag to keep seeds dry between rinses.
- ● Small bowl or tray: For draining excess water after rinsing (prevents soggy seeds!).
- ● Timer or phone alarm: To remind you to rinse seeds every 8–12 hours (consistency is key!).
- ● Salad spinner: Speeds up the drying process after rinsing.
- ● Spice jar or container: For storing sprouted seeds once ready (airtight but breathable, like a jar with a lid slightly ajar).
- ○ Food dehydrator (optional): If you want to dry seeds for longer storage, set to 115°F (46°C) for 4–6 hours.
- ● Clean workspace: Wash hands, jars, and tools with warm, soapy water to avoid contamination.
- ● Warm, dark spot: A pantry or cupboard (65–75°F / 18–24°C) is ideal for sprouting.
- ● Patience! Sprouts take 3–5 days—stay consistent with rinsing.
Step-by-step instructions for sprouting pumpkin seeds for snacking
Turn those pumpkin seeds into crunchy, nutty snacks in just three days with this simple method.
🌱 Step 1: Rinse and Soak the Seeds
Start by rinsing 1 cup of raw pumpkin seeds under cool water to remove any debris or pumpkin flesh clinging to them. This ensures clean sprouts and prevents mold. Place the seeds in a clean bowl and cover them with lukewarm water—just enough to fully submerge them. Let them soak for 8-12 hours.
Here's the thing—soaking softens the outer shell, making it easier for the sprout to break through. I like to do this overnight for convenience, but don’t let them soak longer than 12 hours or they’ll start to ferment. After soaking, drain the water completely using a fine-mesh strainer or colander.
💧 Step 2: Prepare the Sprouting Jar and Drain
Take a clean quart-sized mason jar and line the mouth with a piece of cheesecloth or a sprouting lid. Secure it tightly with a rubber band. Pour the drained seeds into the jar, giving them a gentle shake to distribute them evenly. The goal is to leave about 1 inch of space at the top for airflow.
Leave the jar at a slight angle on a countertop near a window—just enough light to encourage growth, but not direct sunlight yet. You’ll see tiny sprouts appear within 24-48 hours. Real talk: if your kitchen runs cooler, germination might take a few extra days, so be patient.
⏰ Step 3: Rinse and Drain Twice Daily
Every 12 hours, rinse the seeds gently under cool water to remove any seed casings that might have loosened. Swirl the jar to ensure all seeds get rinsed, then drain thoroughly. This keeps them fresh and prevents mold from developing. After rinsing, return the jar to its angled position.
You’ll notice the sprouts growing longer and greener each day. By day 3, they should be about ½ inch to 1 inch long, with a crisp texture and nutty flavor. Don’t skip the rinsing—this is the moment that matters for preventing slimy, unpleasant sprouts.
☀️ Step 4: Harvest and Store for Freshness
Once the sprouts reach your desired length, give them one final rinse and drain completely. Spread them out on a clean towel to air-dry for 10-15 minutes. This step removes excess moisture, which helps them stay crunchy longer. Store them in an airtight container in the refrigerator, where they’ll keep for up to 5-7 days.
For extra crunch, you can lightly toast them in a dry skillet over medium heat for 2-3 minutes, shaking occasionally. Watch closely—they burn fast! Enjoy them straight from the jar or sprinkle them over salads, yogurt, or trail mixes for a nutty kick.
Tips & tricks for perfect sprouted pumpkin seeds
A few simple tricks will help you grow vibrant, crunchy pumpkin sprouts every time—without the slimy mess.
Soaking Secret: The 8-12 hour soak is your foundation—use lukewarm water (around 75°F) rather than cold. Cold water slows germination, while hot water can damage the delicate seeds. I set a timer overnight for hands-off convenience, but never exceed 12 hours or you risk fermentation. After draining, give the seeds a gentle shake in the colander to remove any stubborn hull fragments that could trap moisture.
Jar Setup Strategy: That 1-inch air gap at the top of your mason jar is non-negotiable for airflow. If you don't have cheesecloth, a clean kitchen towel folded over the jar opening works too—just secure it tightly with a rubber band. Pro tip: Place your jar at a 30-degree angle near a north-facing window for indirect light. Direct sunlight can cause uneven growth or even "sunburn" the sprouts.
Rinsing Technique: During those twice-daily 12-hour rinses in Step 3, swirl the jar vigorously under running water to dislodge loosened seed casings. I use my fingers to gently massage the seeds through the cheesecloth—this ensures every sprout gets rinsed. After draining, tap the jar gently on the counter to dislodge any water droplets clinging to the sprouts. Those little water beads can turn into slimy spots if left behind.
Harvesting Hack: When you're ready to harvest on day 3, spread your sprouts on a clean kitchen towel rather than paper towels. The towel's breathability helps absorb moisture more evenly, preventing any soggy spots. For extra crunch, toast them in batches over medium heat—watch like a hawk! They go from perfect to burnt in under 30 seconds.
Pro Tips for Sprout Pumpkin Seeds For Eating
- A few simple tricks will help you grow vibrant, crunchy pumpkin sprouts every time—without the slimy mess.
- Soaking Secret: The 8-12 hour soak is your foundation—use lukewarm water (around 75°F) rather than cold.
- Jar Setup Strategy: That 1-inch air gap at the top of your mason jar is non-negotiable for airflow.
Frequently asked questions
How long do pumpkin seeds take to sprout for eating?
Most pumpkin seeds sprout in 3–5 days when kept in a warm, moist environment. You’ll see tiny white sprouts (about ½ inch long) by day 3—perfect for snacking! If they take longer, check moisture levels and warmth.
What if my pumpkin seeds mold or smell bad?
If seeds develop fuzz or a sour smell, they’re moldy—toss them immediately! Prevent this by rinsing seeds twice daily and using clean, breathable cloths. Store them in a well-ventilated jar (like a mesh bag) to avoid excess humidity.
Can I eat raw pumpkin seeds straight from the store?
Store-bought pumpkin seeds are safe to eat raw (just rinse and dry them), but they’re not technically "sprouted." Sprouting boosts nutrients like vitamin C and enzymes. For extra crunch, lightly toast unsprouted seeds at 300°F (150°C) for 10 minutes.
Do I need to soak pumpkin seeds overnight?
No! Soaking is optional but speeds up sprouting. For fastest results, soak seeds in lukewarm water for 6–8 hours, then drain. If you skip soaking, just rinse seeds every 8–12 hours—they’ll still sprout, just slower (5–7 days).
What’s the best way to store sprouted pumpkin seeds?
Keep sprouted seeds in the fridge (35–40°F / 2–4°C) for up to 5 days in a sealed container with a paper towel to absorb moisture. For longer storage, dry them at 160°F (71°C) for 2–3 hours—they’ll last months like regular pumpkin seeds!
Wrapping up and next steps
Sprouting pumpkin seeds is a simple, rewarding way to enjoy a nutritious, crunchy snack in just days! With minimal effort—just water, patience, and a little sunlight—you’ll unlock a world of flavor and health benefits.
Start small, experiment with flavors, and soon you’ll be sharing these tasty sprouts with friends or adding them to meals for an extra boost.
Ready to take the next step? Try growing a batch today! 🌱 Once you master the basics, explore creative recipes—like tossing them in salads, blending into smoothies, or baking them into energy bites. Happy sprouting!