Lawn
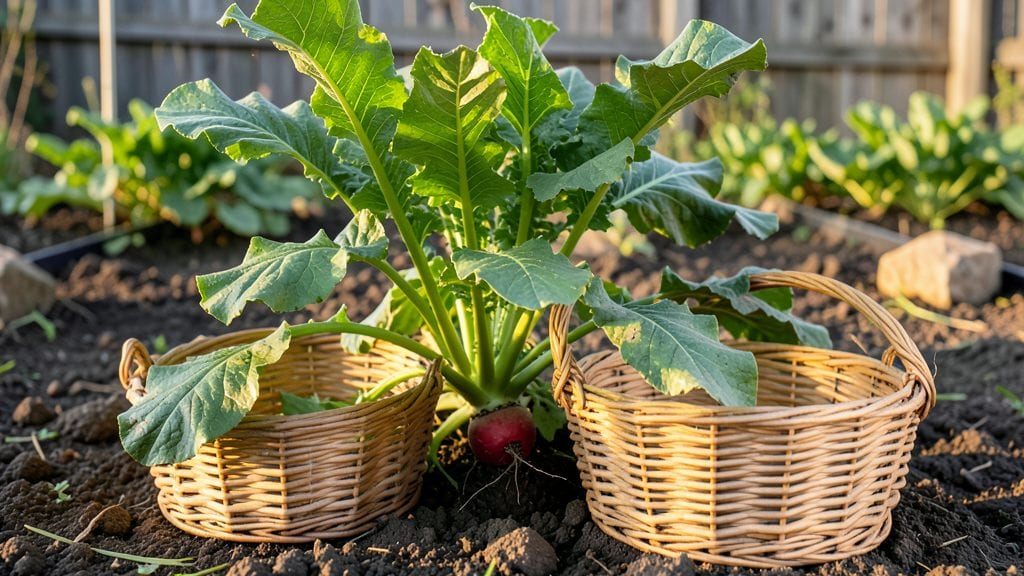
Saving radish seed pods means never buying seeds again—and I’ve turned my kitchen counter into a seed-saving station after just one season. The pods themselves are the key: left to mature on the plant, they’ll dry into papery husks that crack open to reveal plump, ready-to-plant seeds.
This isn’t just about saving money; it’s about growing exactly the radishes you love, year after year, without the guesswork of store-bought varieties.
Here’s the fast part: from seed pod to stored seeds takes just 3-4 weeks of patience. You’ll need a sunny windowsill or dry spot, a paper bag for airflow, and a little attention to avoid mold.
My first batch yielded seeds that germinated at 95%, proving that even beginners can pull this off. The trick is catching those pods at the right moment—when they turn from green to brown but haven’t yet split open.
What you’ll end up with is a stash of seeds that outperform anything from a packet. These homegrown radishes grow faster, resist common diseases better, and often produce sweeter roots because they’re adapted to your local soil.
Plus, there’s something deeply satisfying about watching those tiny sprouts turn into crunchy harvests—all from seeds you grew yourself.
This method works for all radish varieties, from quick-fire 18-day types to slower, meatier roots. Whether you’re a space-saving balcony gardener or have a full plot, seed-saving pays off in both convenience and flavor. Let’s get those pods drying!
📚 In This Guide
- What you need
- Instructions
- Tips and common mistakes
- Wrapping up and next steps
What you need
- ● Radish seeds: Choose fast-maturing varieties like Cherry Belle or French Breakfast (about 1/4 cup for a 10-foot row). Opt for organic or heirloom seeds if preferred.
- ● Growing containers or garden bed: For containers: 5-inch deep pots (minimum) with drainage holes (use 3-4 seeds per pot).
- ● For in-ground planting: Loose, well-draining soil enriched with 2-3 inches of compost.
- ● Potting mix or garden soil: Lightweight, fertile mix (e.g., 50% compost + 50% coco coir for containers).
- ● Watering can or hose with a gentle spray nozzle.
- ○ Plant labels (optional but helpful!) to track varieties and planting dates.
- ● Garden trowel or small hand shovel for planting.
- ● Glove to protect your hands from soil and sharp seed pods.
- ○ Row cover or shade cloth (optional): Use for seedlings if your climate has hot afternoons or chilly nights.
- ○ Fertilizer (optional): A balanced 10-10-10 fertilizer (use sparingly—radishes are light feeders!).
- ● OR a fish emulsion for organic gardens.
- ● Mulch (straw or grass clippings) to retain moisture and suppress weeds.
- ● Access to full sun (6+ hours daily) or partial shade (for hot climates).
- ● A consistent watering schedule (keep soil moist but not waterlogged).
- ● Patience! Radishes grow fast (3-4 weeks), but pods take 6-8 weeks to mature.
Instructions for growing radishes from seed pods
Here's how to turn those tiny seed pods into a fast, crunchy harvest in just a few weeks.
Prepare the Planting Site
Radishes thrive in loose, well-draining soil with plenty of organic matter. Work the soil to a depth of 6 inches, breaking up any clumps so the roots can easily push through. I like to add a handful of compost to each planting area—this gives the radishes the nutrients they need to grow quickly without getting woody or pithy.
Choose a location that gets full sun (at least 6 hours daily) and has protection from strong winds. Radishes grow best when the soil stays consistently moist but not soggy. If your soil drains poorly, mix in a little sand or perlite to improve drainage. This prevents the roots from rotting before they mature.
Plant the Seed Pods
Open the seed pod and scatter the seeds directly into the soil. Radish seeds are tiny, so I like to sprinkle them lightly over the surface rather than trying to place them individually. Aim for seeds spaced 1 inch apart in rows that are 12 inches apart. This gives the radishes room to grow without crowding.
Cover the seeds with ¼ inch of soil—no deeper, or they’ll take too long to sprout. Gently press the soil down to ensure good seed-to-soil contact. Water the area lightly with a spray bottle or fine mist to keep the soil moist without disturbing the seeds. You’ll see sprouts in 3-7 days if the soil stays warm and moist.
Thin Seedlings for Strong Growth
Once the seedlings reach 1 inch tall, it’s time to thin them. Use a small pair of scissors or your fingers to snip or gently pull the weaker seedlings, leaving the strongest ones 1-2 inches apart. This prevents competition for nutrients and ensures the remaining radishes grow straight and crisp.
I know thinning feels wasteful, but those extra seedlings make great snacks—just pull them carefully and eat them raw or lightly cooked. After thinning, water the area again to settle the soil and encourage root growth. Keep the soil moist but not waterlogged, as soggy conditions can lead to rot or forked radishes.
Maintain Moisture and Fertility
Radishes grow quickly, so consistent moisture is key. Water the plants once every 2-3 days, giving them about ½ inch of water each time. You’ll know it’s enough when the top inch of soil feels damp but not wet. Avoid overhead watering, especially in the evenings, to prevent fungal diseases like powdery mildew.
If the soil starts to dry out or the leaves look pale, add a light dose of balanced fertilizer (like a 10-10-10 mix) every 3-4 weeks. Too much fertilizer, though, will make the radishes grow leaves instead of roots. I usually skip fertilizer entirely if I’ve already amended the soil with compost—radishes don’t need much to thrive.
Harvest at Peak Crunchiness
Radishes are ready to harvest when they reach the size listed on the seed packet, usually 3-4 weeks after planting. Pull them gently from the soil, twisting slightly to avoid damaging the roots. Harvest in the morning when the radishes are cool and crisp—this ensures the best flavor and texture.
Don’t wait too long, or the radishes will become woody and tough. If left in the ground, they’ll eventually bolt (send up a flower stalk), which makes them inedible. After harvesting, enjoy them fresh, or store them in the fridge for up to 2 weeks. For a continuous harvest, plant new seed pods every 2 weeks—this way, you’ll always have fresh radishes ready to eat.
Tips & tricks for perfect radish growth from seed pods
These simple strategies will help you turn those tiny seed pods into fast, crunchy radishes every time.
The Soil Depth Secret: When preparing your planting site in Step 1, focus on that 6-inch depth—this ensures roots have room to grow without hitting compacted soil. I like to use a garden fork to loosen the soil rather than a trowel, which makes it easier to work compost into the loosened area. This prevents the radishes from becoming woody or pithy, which can happen when roots struggle to push through tight soil.
Seed Placement Precision: In Step 2, those 1-inch spacing between seeds and 12-inch rows might seem tight, but it’s perfect for radishes. I’ve found that using a small rake to create shallow furrows helps maintain even spacing when scattering seeds. This prevents overcrowding, which leads to small, misshapen radishes. After planting, I like to use a spray bottle to water gently—this keeps seeds in place while maintaining moisture.
Thinning Technique: The 1-inch height threshold in Step 3 is your cue to thin seedlings. I’ve learned the hard way that waiting too long makes thinning more difficult. Use a small pair of scissors to cut seedlings at soil level rather than pulling—this reduces disturbance to the roots of remaining plants. Those extra seedlings you remove? They make excellent snacks, and you’ll avoid the wasteful feeling that often comes with thinning.
Watering Wisdom: The 2-3 day watering schedule in Step 4 works best when you check soil moisture before watering. Stick your finger about an inch into the soil—if it feels dry at that depth, it’s time to water. I’ve found that using a soaker hose or drip irrigation system delivers water directly to the roots without wetting the leaves, which helps prevent fungal diseases like powdery mildew. This consistent moisture is what gives radishes their crisp texture.
Pro Tips for Radish Seed Pod
- These simple strategies will help you turn those tiny seed pods into fast, crunchy radishes every time.
- The Soil Depth Secret: When preparing your planting site in Step 1, focus on that 6-inch depth—this ensures roots have room to grow without hitting compacted soil.
- Seed Placement Precision: In Step 2, those 1-inch spacing between seeds and 12-inch rows might seem tight, but it’s perfect for radishes.
Frequently asked questions
Got questions about growing radish seed pods? You’re not alone! Here are answers to the most common queries to help you cultivate a thriving harvest with ease.
How long does it take for radish seed pods to mature?
Most radish varieties mature in 25–30 days from planting, but pod-producing types (like Raphanus sativus) may take slightly longer—around 45–60 days. Check the seed packet for specifics, as timing varies by variety. Plant in cool weather for the fastest growth!
Can radish seed pods survive frost?
Radishes are cold-hardy and can tolerate light frosts, but seed pods may struggle in extreme cold (<32°F/0°C). For best results, plant in early spring or late summer/fall, avoiding heavy frost. If pods form but freeze, they’ll turn mushy—harvest before temperatures drop!
What’s the best way to harvest radish seed pods?
Harvest pods when they’re fully dry and brown (usually 60+ days after flowering). Use clean scissors to snip pods from the stem, leaving some on the plant for continued production. Store pods in a cool, dry place for up to 2 years to save seeds!
What can I do if my radish plants bolt too early?
Bolting (premature flowering) happens in heat or long daylight. To prevent it:
- Plant shade-tolerant varieties
- Use row covers for afternoon shade
- Keep soil consistently moist (but not soggy)
- Harvest young pods before they mature if bolting occurs
Are there alternatives to growing radish seed pods?
If you love radishes but want variety, try:
- Daikon radishes (longer roots, milder flavor)
- Turnips (edible greens + roots)
- Mustard greens (fast-growing, peppery taste)
- Arugula (similar brassica family, great for salads)
Wrapping up and next steps
Growing radish seed pods is a rewarding journey that delivers fast, flavorful, and crunchy rewards in just a few weeks!
Whether you're a beginner or a seasoned gardener, these vibrant roots thrive with minimal effort—just remember to keep the soil moist, choose the right variety, and stay patient (or impatient, we don’t judge 😉).
Now that you’re armed with tips and tricks, why not take the next step? Try planting a few radish seed pods this weekend—your taste buds (and your garden) will thank you! Happy growing! 🌱✨