Pruning
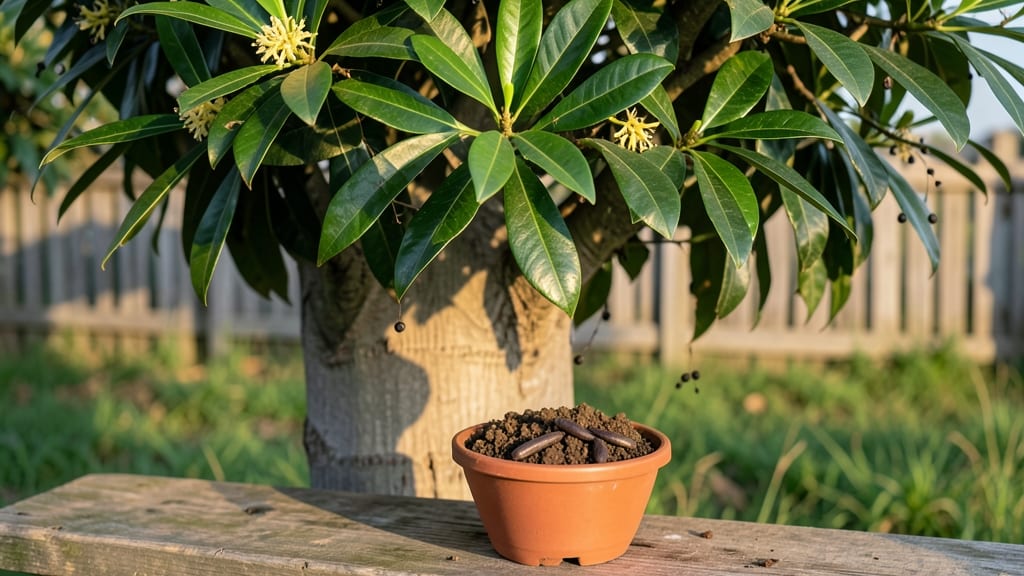
Growing camphor tree seeds fast means cracking the code on their stubborn germination habits—something I learned after my first batch took three months to sprout. 🌱 These seeds need patience, but the right tricks cut weeks off the wait, turning a slow process into one you can actually track.
The secret lies in mimicking their tropical forest conditions at home, where they’d normally sprout within weeks.
You’ll need just three things: a heat mat or sunny windowsill, a mix of peat and perlite for drainage, and a spray bottle to keep things damp without drowning the seeds. Most people overwater, which is the fastest way to rot them before they even wake up.
Camphor seeds also love warmth—think 75°F or higher—and they’ll push through soil in about 4-8 weeks with the right setup.
Once those first pale green shoots appear, you’ll see why the wait was worth it: camphor seedlings grow into fragrant, slow-but-steady trees with medicinal bark and glossy leaves.
They’re not fast growers, but with these tricks, you’ll have sturdy 6-inch seedlings in under three months—ready to transplant into larger pots or your garden bed.
Works best in zones 9-11, but you can start them indoors year-round. The key is consistency: keep that heat mat running and the soil moist, not soggy. Here’s how to avoid the pitfalls that trip up even experienced growers.
📚 In This Guide
- What you need
- Instructions
- Tips and common mistakes
- Wrapping up and next steps
What you need
- ● Camphor tree seeds: 5–10 fresh, viable seeds (harvested from a mature tree or purchased from a reputable supplier). Pro tip: 💡 Store seeds in a cool, dry place if not using immediately.
- ● Seed-starting mix: 2–3 cups of well-draining, sterile potting soil (look for a blend labeled for seedlings or cacti/succulents).
- ○ Small pots or seed trays: 3–5 biodegradable pots (3–4 inches wide) or a shallow tray with drainage holes. Optional: Clear plastic domes or plastic wrap to retain humidity.
- ● Drainage material: Perlite, vermiculite, or small pebbles (½ cup) to improve aeration.
- ● Spray bottle: For gentle watering (avoid over-saturating the soil).
- ○ Heat mat (optional but helpful): A small seedling heat mat (set to 75–85°F) to speed up germination.
- ● Grow lights or sunny windowsill: A south-facing window or a LED grow light (12–16 hours/day) for consistent light.
- ● Humidity dome or plastic wrap: To create a mini greenhouse effect (if not using a dome).
- ● Fertilizer (after germination): A balanced, water-soluble fertilizer (5-5-5 or 10-10-10) diluted to half-strength.
- ● Patience: Camphor seeds can take 4–12 weeks to germinate—stay consistent!
- ● Warmth: Ideal germination temperature: 70–85°F. Avoid cold drafts.
- ● Sterilized tools: Sanitize scissors or knives (if scarifying seeds) with rubbing alcohol.
- ● Pest control: Keep ants, fungus gnats, or mold at bay with a light fungicide spray (like neem oil) if needed.
Step-by-step instructions for germinating camphor tree seeds
Here’s my fail-proof method for breaking through camphor’s stubborn germination barrier—no more waiting months for a single sprout.
🌱 Step 1: Soak Seeds to Break Dormancy
Camphor seeds have a thick outer shell that resists water absorption. Place them in a small bowl and cover with lukewarm water for 24-48 hours. You’ll see the water turn slightly cloudy—this means the seed coat is softening. Swirl the bowl gently a few times daily to keep seeds submerged.
After 48 hours, check for tiny cracks or swelling. If seeds remain hard, extend the soak another 12 hours. Never use hot water—it can damage the embryo inside. Once the seeds feel slightly pliable (like a ripe pea), they’re ready for planting.
💧 Step 2: Plant in Warm, Moist Sand or Perlite
Camphor seeds despise dense soil—they need fast-draining, airy mediums to prevent rot. Fill a shallow tray with sterile sand or perlite (I use perlite because it holds moisture without suffocating roots). Moisten it until damp but not dripping, then press the soaked seeds ½ inch deep.
Space seeds 2 inches apart—they’ll grow fast once they sprout. Cover the tray with clear plastic wrap to trap warmth and humidity. Place it in a spot where the air stays 75-85°F (a seedling heat mat works wonders). Germination should start in 7-14 days.
☀️ Step 3: Provide Indirect Light After Sprouting
The moment you see green tips emerge, remove the plastic wrap immediately. Camphor seedlings are delicate and rot quickly in soggy conditions. Move the tray to bright, indirect light—a south-facing window with sheer curtains is ideal. Direct sun will scorch the tender leaves.
Water lightly from below by placing the tray in ½ inch of water for 10 minutes every 3-4 days. You’ll know it’s time when the top layer feels dry to the touch. Avoid overhead watering—it can knock seedlings over or cause fungal issues.
🪴 Step 4: Transplant to Soil When Strong Enough
Once seedlings develop 2-3 sets of true leaves (about 4-6 weeks), they’re ready for soil. Fill 4-inch pots with a mix of 50% potting soil and 50% perlite to keep roots aerated. Gently lift each seedling by its leaves (never the stem!) and place it in a hole just deeper than its original container.
Firm soil around the base and water thoroughly. Keep pots in partial shade for the first week to reduce transplant shock. You’ll notice new growth within 7-10 days—that’s your sign the roots have settled in.
⏰ Step 5: Harden Off Before Outdoor Planting
Camphor trees thrive outdoors but need gradual acclimation. After 8-10 weeks of indoor growth, start hardening off by placing seedlings outside in morning sun only for 2 hours the first day. Increase exposure by 1 hour daily until they can handle full sun.
Watch for wilted or yellowing leaves—this means they’re getting too much sun too soon. Once seedlings tolerate 6+ hours of direct sun without stress, they’re ready for permanent outdoor planting. Space them 10-15 feet apart in well-draining soil.
Tips & tricks for fast camphor seed germination
These little-known tricks will help you break through camphor's stubborn germination barrier faster than you'd expect.
Soak Smarter: The 24-48 hour soak is your first critical step, but here's the secret: use a bowl just large enough to hold your seeds with minimal water. Too much water can drown the seeds before they soften. I like to add a pinch of cinnamon (optional) to the soak water—it naturally prevents mold while seeds soften. After 48 hours, if seeds feel rock-hard, extend by 12 hours max—any longer risks damaging the embryo.
Heat Hack: That 75-85°F range in Step 2 isn't just about warmth—it's about consistency. I use a seedling heat mat under my tray because camphor seeds need stable heat to germinate. If you don't have one, place the tray on top of your fridge (not inside) where it stays warm but not hot. The moment you see green tips, remove the plastic wrap immediately—this prevents the classic "damp rot" that kills delicate seedlings.
Light Strategy: For that bright indirect light in Step 3, position your tray about 12 inches from a south-facing window. If you notice seedlings stretching toward the light (called "legginess"), rotate the tray daily so they grow straight. The 3-4 day watering schedule is crucial—overwatering is the #1 killer of young camphor sprouts. I test moisture by sticking my finger in the perlite—it should feel like a damp sponge, not a wet towel.
Pro Tips for Camphor Tree Seeds
- These little-known tricks will help you break through camphor's stubborn germination barrier faster than you'd expect.
- Soak Smarter: The 24-48 hour soak is your first critical step, but here's the secret: use a bowl just large enough to...
- Heat Hack: That 75-85°F range in Step 2 isn't just about warmth—it's about consistency. I use a seedling heat mat und...
Frequently asked questions
Got questions about growing camphor tree seeds? You’re not alone! Here are some of the most common queries—plus straightforward answers to help you succeed.
How long does it take for camphor tree seeds to germinate?
Patience is key! Camphor tree seeds typically take 4 to 12 weeks to sprout, depending on temperature, moisture, and seed freshness. Keep them in warm (70–80°F), humid conditions to speed things up. If nothing happens after 3 months, the seeds may need stratification or scarification.
Can I grow a camphor tree from store-bought seeds?
Yes, but with caution. Store-bought camphor seeds (like those from Cinnamomum camphora) are often treated or aged for shipping, which can reduce viability. For best results, source seeds from a reputable nursery or collect them fresh from a mature tree. Test a few seeds first to gauge success!
Do camphor seeds need cold stratification?
Not always—but it can help! While camphor seeds don’t require cold stratification, a 4–6 week cold treatment (34–40°F) may break dormancy for stubborn seeds. Skip this step if your seeds sprout quickly in warm, moist conditions. Experiment to see what works best for your batch.
What’s the best soil mix for germinating camphor seeds?
Use a light, well-draining mix like:
- 50% peat moss or coconut coir
- 30% perlite or vermiculite
- 20% sand or pumice
Why aren’t my camphor seeds sprouting?
Try these troubleshooting steps:
- Check seed viability: Soak a few seeds in water for 24 hours—if they sink, they’re likely viable.
- Adjust moisture: Overwatering can cause rot; underwatering may stall germination.
- Test temperature: Seeds need warmth (70–80°F) to germinate. Use a heat mat if needed.
- Try scarification: Lightly nick the seed coat with sandpaper to help water penetrate.
Wrapping up and next steps
Growing camphor tree seeds may seem tricky, but with the right patience, preparation, and care, you can nurture these fragrant beauties into thriving plants! 🌱 From selecting the perfect soil mix to mastering the ideal germination conditions, every step brings you closer to a lush, aromatic addition to your garden or indoor space.
Ready to take the next step? Start with just a few seeds—experiment, observe, and refine your technique. Whether you’re a seasoned gardener or a curious beginner, your camphor tree journey is just beginning. Happy growing! 🌿✨