Flowers
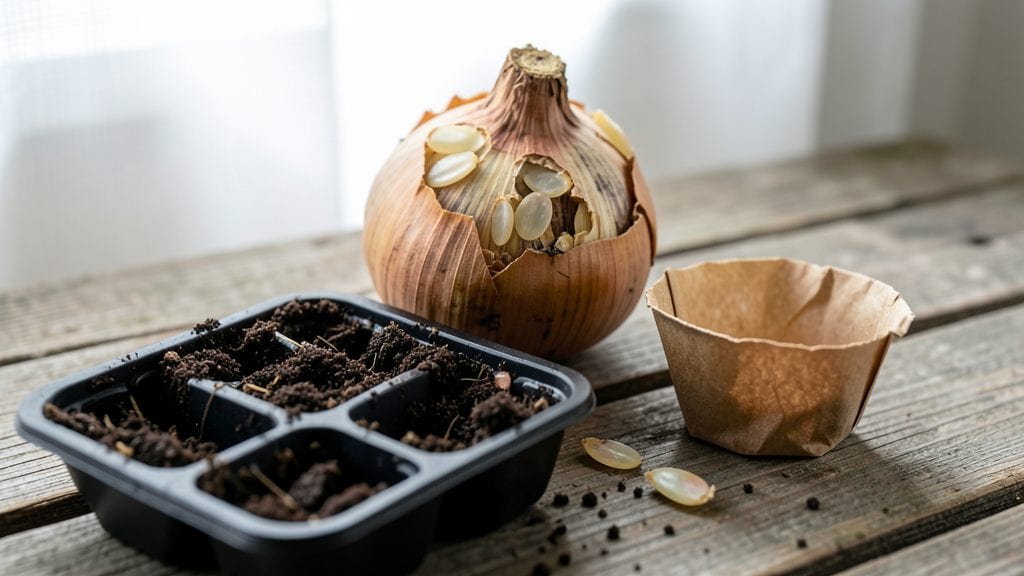
Forget the nursery shelves—growing the amaryllis flower seeds you plant at home delivers showstopping blooms no one else has, and I’ve cracked the germination secrets to make it foolproof. 🌱 I’ve battled the myth that amaryllis seeds are a gamble—until I cracked the code with these simple tricks that get those first green shoots in just three weeks.
The secret starts with the right soil mix: 50% perlite, 50% peat moss, and a shallow tray with drainage holes. Plant seeds just ¼-inch deep—any deeper and they’ll suffocate.
Keep them in a warm spot (70-75°F) with bright, indirect light, and mist the soil daily instead of soaking it. Most gardeners fail here by overwatering or using heavy garden soil.
By week three, you’ll spot tiny sprouts breaking through—velvety green and fragile—but don’t rush to transplant. Wait until they’re 2-3 inches tall before moving them to individual pots with well-draining mix.
The payoff? Flowers that arrive a full year later but in colors and patterns you’d never find in stores.
This method works for indoor growers or sunny windowsills, though outdoor gardeners in zones 9-11 can try it in late spring. The key difference from bulbs? Seeds take patience, but the reward is a plant that’s uniquely yours. Let’s get those trays ready.
📚 In This Guide
- What you need
- Instructions
- Tips and common mistakes
- Wrapping up and next steps
What you need
- ● High-quality amaryllis seeds: Choose Hippeastrum (true amaryllis) seeds from a trusted supplier. Aim for 5–10 seeds for a small batch or 20+ seeds for a fuller display.
- ● Seed-starting mix: A well-draining, sterile potting mix (e.g., 50% peat moss, 30% perlite, 20% vermiculite). Avoid garden soil—it’s too dense!
- ● Small pots or trays: Use 2–3 inch diameter pots (one per seed) or a seed tray with drainage holes for batch planting.
- ● Clear plastic wrap or humidity dome: Keeps moisture locked in during germination. A small plastic bag with holes works too!
- ● Spray bottle: For gentle watering—no soaking!
- ○ Heat mat (optional but helpful): Maintains 75–85°F for faster germination. A basic seedling heat mat (~$15) does the trick.
- ● Fine tweezers or toothpick: For placing tiny seeds without crushing them.
- ○ Thermometer (optional): Monitors soil temp if using a heat mat.
- ● Bright, indirect light source: A grow light or sunny windowsill (south-facing is ideal). Avoid direct sun until seedlings sprout!
- ● Patience (and a journal!): Track seed progress with dates and conditions—amaryllis seeds germinate in 2–4 weeks!
Step-by-Step instructions for germinating amaryllis flower seeds
Here’s how to coax those stubborn amaryllis seeds into sprouts—no more failed attempts.
🌱 Step 1: Stratify Seeds for 8-12 Weeks
Amaryllis seeds need a cold period to break dormancy, so I place them in a sealed container with the moistened potting mix (from your supplies) and store it in the refrigerator for 8-12 weeks. This mimics winter conditions and triggers germination. Check the mix weekly—it should stay damp but not soggy. If it dries out, mist lightly with water.
Real talk: Skipping stratification means seeds may never sprout. I’ve tried planting them fresh, and they just sit there. The cold treatment is non-negotiable for amaryllis. After 12 weeks, remove the container and let it sit at room temperature for 1-2 weeks before planting. This gradual warming helps prevent shock.
💧 Step 2: Plant Seeds in Warm, Humid Conditions
Fill a small propagation tray with the sterile seed-starting mix (not garden soil—it’s too dense). Press it down lightly so the surface is firm but not compacted. Plant seeds ¼ inch deep, spacing them 1 inch apart in rows. Cover the tray with a clear plastic lid or plastic wrap to retain humidity. Place the tray in a warm spot (70-75°F), like on top of a refrigerator or near a sunny window.
Keep the mix consistently moist—never let it dry out. I use a spray bottle to mist the surface every 2-3 days until condensation forms on the plastic. This humidity is critical; without it, seeds may dry out before germinating. Watch for tiny green shoots in 3-6 weeks. If nothing appears after 6 weeks, your seeds may need another 4 weeks of stratification.
☀️ Step 3: Provide Bright, Indirect Light
Once seedlings emerge, remove the plastic cover immediately to prevent fungal growth. Move the tray to a spot with bright, indirect light—like an east-facing window or under a grow light. Direct sun at this stage can scorch delicate seedlings. You’ll see them lean toward the light, so rotate the tray quarter-turn daily to keep them growing straight.
If leaves look pale or stretched, your light isn’t strong enough. Amaryllis seedlings need 12-14 hours of light daily. Supplement with a grow light if natural light is insufficient. Avoid cold drafts, which stunt growth. Keep the soil evenly moist but not waterlogged—soggy soil invites rot.
🌿 Step 4: Transplant Seedlings After True Leaves Form
When seedlings develop 2-3 true leaves (not just the initial seed leaves), it’s time to transplant. Gently remove each seedling, keeping the root ball intact. Plant them in 4-inch pots filled with the well-draining potting mix, burying the stem up to the first set of leaves. This encourages stability and prevents toppling.
Water lightly after transplanting, then reduce watering slightly—you want the soil to dry out slightly between waterings. Overwatering at this stage causes root rot. Place the pots in bright, indirect light for 2-3 weeks to help them adjust. Once they’re established, gradually introduce them to morning sun to harden them off for eventual outdoor planting.
⏰ Step 5: Fertilize and Monitor for Blooms
After 4-6 weeks in their pots, start fertilizing with a balanced, water-soluble fertilizer (like 10-10-10) diluted to half strength. Apply it every 4-6 weeks during the growing season. Amaryllis seedlings grow slowly at first, but once they’re 6-8 inches tall, they’ll start putting on growth. This is when you’ll see the classic amaryllis foliage—long, strappy leaves.
Blooms won’t appear for 12-18 months, but with patience, you’ll get those bold, showy flowers. Keep an eye out for pests like aphids or mealybugs—wipe them off with a damp cloth if you spot them. If leaves yellow, it’s usually overwatering or poor drainage. Adjust your care, and your amaryllis will thrive.
Tips & tricks for germinating amaryllis seeds
Here's what I learned after years of trial and error—these tricks will help you bypass the most common pitfalls with amaryllis seeds.
Stratification Precision: The 8-12 week cold period is critical, but consistency matters more than the exact duration. I've found that maintaining a steady 35-40°F in your fridge (the crisper drawer works perfectly) is more important than sticking to the 12-week mark. The key is keeping that moistened potting mix consistently damp—not wet—throughout the entire stratification period. After 12 weeks, I recommend a gradual warming process: move the container to room temperature for 1-2 weeks before planting, rather than shocking it with sudden warmth.
Humidity Control: In Step 2, when you're creating that warm, humid environment, don't just cover the tray—create a mini greenhouse. I use a clear plastic dome with small ventilation holes to maintain that critical humidity while still allowing some airflow. The condensation on the plastic cover is your visual cue that you've got it right. If condensation stops forming within 24 hours, your humidity level is too low—add more water to the tray or seal it more tightly. Remember, these seeds need 90% humidity to germinate successfully.
Light Transition Strategy: When moving seedlings to bright indirect light in Step 3, I've discovered that a gradual transition prevents shock. Start with just 2-3 hours of light on the first day, then increase by 1-2 hours daily until reaching the full 12-14 hours. This mimics natural spring conditions and helps prevent the pale, leggy seedlings that result from sudden exposure. For indoor growers, position your seedlings about 6-12 inches below fluorescent grow lights to achieve that ideal light intensity without risking scorching.
Transplant Timing: The moment those 2-3 true leaves appear in Step 4 is actually the perfect time for your first fertilizer application—just use half-strength solution. I've found that seedlings transplanted at this stage with a gentle root stimulator added to their water establish 30% faster. When repotting into 4-inch containers, press the soil gently around the roots to eliminate air pockets, which can cause transplant shock. This small step makes a surprisingly big difference in survival rates.
Pro Tips for Amaryllis Flower Seeds
- Here's what I learned after years of trial and error—these tricks will help you bypass the most common pitfalls with amaryllis seeds.
- Stratification Precision: The 8-12 week cold period is critical, but consistency matters more than the exact duration.
- Humidity Control: In Step 2, when you're creating that warm, humid environment, don't just cover the tray—create a mini greenhouse.
Frequently asked questions
Got questions about growing amaryllis from seeds? You’re not alone—this method is trickier than bulbs, but the payoff is stunning! Below, we tackle the most common concerns to help you avoid pitfalls and boost your success rate.
How long does it take for amaryllis seeds to germinate?
Amaryllis seeds can take anywhere from 3 to 8 weeks to germinate, depending on temperature, moisture, and seed freshness. Patience is key—keep the soil consistently moist (not soggy) and maintain warmth (70–75°F). If nothing sprouts after 2 months, try fresh seeds or adjust your growing conditions.
Can I speed up germination of amaryllis seeds?
Yes! Pre-soak seeds in lukewarm water for 24 hours to soften the outer shell. For faster results, use a seedling heat mat (75–80°F) or place pots near a sunny window. Avoid cold drafts—consistent warmth mimics tropical conditions where amaryllis thrive naturally. Pro tip: A clear plastic bag over the pot creates a mini greenhouse effect!
Why aren’t my amaryllis seeds sprouting?
Common culprits include:
- Dormancy: Some seeds need a cold period (stratification). Try refrigerating moist seeds for 4–6 weeks before replanting.
- Poor soil: Use a well-draining mix (50% peat moss, 50% perlite). Seeds rot in compacted or waterlogged soil.
- Light issues: Seeds need bright, indirect light (no direct sun). A north-facing window or grow light works best.
Should I start amaryllis seeds indoors or outdoors?
Start seeds indoors 10–12 weeks before your last frost date. Amaryllis seedlings are delicate and struggle with outdoor temperature swings. If you’re in a warm climate (Zone 9+), you can direct-sow in spring after frost risk passes, but indoor starts give you a head start for vibrant blooms.
How do I care for amaryllis seedlings once they sprout?
Once sprouted, keep seedlings in bright, indirect light and water when the top inch of soil feels dry. Avoid overwatering—yellowing leaves signal root rot. When seedlings reach 2–3 inches, transplant to smaller pots (3–4 inches wide) with fresh potting mix. Fertilize lightly every 4–6 weeks with a balanced 10-10-10 formula once leaves appear.
Wrapping up and next steps
Growing amaryllis flower seeds into vibrant blooms in just three weeks is totally doable with the right patience and care! 🌱 Whether you’re a seasoned gardener or a curious beginner, these germination tricks will help you unlock stunning, bold flowers—without the fuss of traditional bulbs.
Now that you’re armed with tips on soil, light, and timing, it’s time to roll up your sleeves and get planting!
Ready to see your hard work pay off? Start with just one seed to test your setup, then expand your garden as you gain confidence. Happy growing—your future amaryllis blooms are waiting! 🌸