
Transplanting
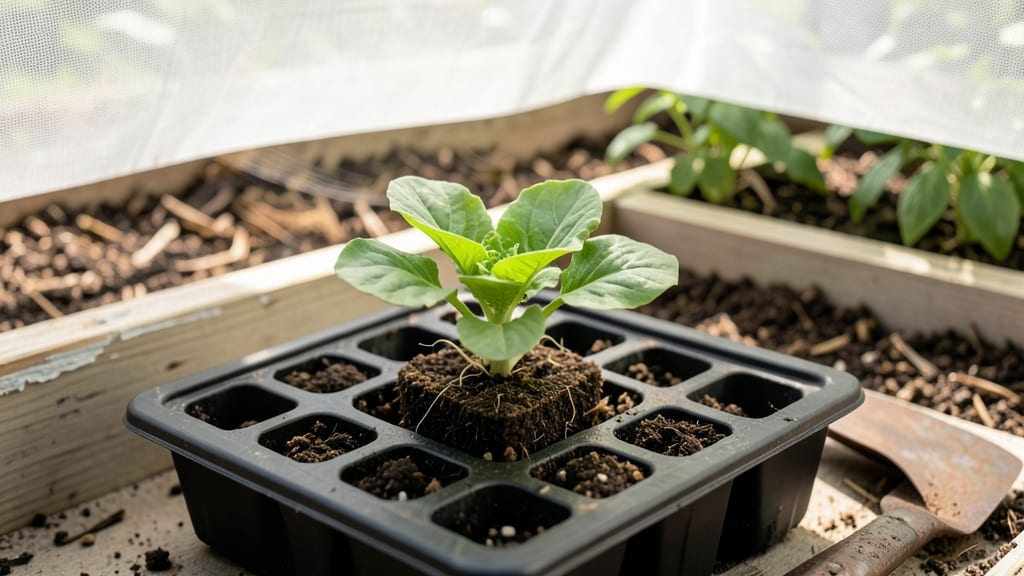
Transplanting germinated seeds at the right time is the difference between hardy plants and sad, wilting failures 🌱 — and the clock starts ticking once those first true leaves appear.
Transplanting germinated seeds too early can shock delicate seedlings—or waiting too long risks stunted growth. Timing your transplant perfectly ensures hardy, thriving plants that survive the move from cozy trays to your garden bed.
In USDA Zone 6a, the ideal window is April–May, after the last frost and when soil temperatures hit 60°F+. But don’t just guess—check for 2–4 true leaves, sturdy stems, and roots crowding the pot. These signs mean your seedlings are ready to face the great outdoors.
Below, I’ll walk you through the 7-day hardening process, how to spot readiness, and the 3 biggest mistakes that kill seedlings post-transplant. No more guesswork—just stronger starts for your garden.


The 7-Day hardening off process: how to prepare germinated seeds for transplant
Transplanting your germinated seeds directly from cozy indoor trays to harsh outdoor conditions is like throwing a baby into a swimming pool—shocking and often fatal. Instead, use a 7-day hardening off process to toughen seedlings gradually.
This method mimics natural outdoor conditions, strengthening stems and roots so they survive transplant shock and thrive in your garden.
The key to success lies in controlled exposure to sunlight, wind, and temperature fluctuations. Start by moving seedlings outdoors for just 30 minutes per day on day one, then gradually increase their time outside.
By day seven, they’ll be ready to spend the full day outside, 24/7, before permanent transplanting. This slow adaptation prevents stress and ensures your seedlings develop resilience.
Here’s how to master the 7-day hardening off process with precision, tailored for USDA Zone 6a (adjust timings for your climate). Use this step-by-step guide to avoid common pitfalls like wilting or stunted growth.
Step-by-Step Hardening Off Schedule
- Day 1-2: Place seedlings in partial shade (e.g., under a porch awning) for 30-60 minutes. Monitor for wilting—if leaves droop, bring them back inside immediately. This introduces mild sunlight and temperature shifts without overwhelming them.
- Day 3-4: Increase exposure to 2-3 hours of direct sunlight (morning hours preferred). Use a cloche or shade cloth if wind speeds exceed 5 mph to prevent physical damage. Water seedlings before moving them outside to prevent transplant shock from dehydration.
- Day 5: Extend time outdoors to 4-6 hours, including 1 hour of afternoon sun (if temperatures stay above 50°F). Introduce light wind exposure by placing trays in an unprotected spot for 30 minutes daily. This helps seedlings develop sturdy stems resistant to bending.
- Day 6: Move seedlings outside for 8-10 hours, but bring them in before dusk to protect against nighttime temperature drops. If frost is forecasted, cover seedlings with frost cloth or move them indoors. This mimics natural day-night cycles and prepares them for outdoor life.
- Day 7: Leave seedlings outdoors 24/7, but still protect them from direct wind or extreme heat (above 85°F). If nighttime temperatures drop below 45°F, bring them under a cold frame or into a garage with ventilation. By now, they should handle outdoor conditions like champions.
During this process, pay close attention to seedling health. Look for dark green leaves, sturdy stems, and minimal wilting—these are signs your seedlings are adapting well.
If you notice yellowing leaves or crispy edges, reduce sunlight exposure or increase watering frequency. Overwatering is just as harmful as underwatering, so let the top inch of soil dry out between waterings.
Another critical factor is soil temperature. Seedlings struggle to establish roots in cold soil (below 50°F60°F before transplanting. Use a soil thermometer to check—this small investment saves hours of frustration.
For cool-season crops like kale or spinach, you can transplant slightly earlier, but always harden them off first.
Wind can be a silent killer for tender seedlings. Even gentle breezes can desiccate leaves or break stems. If your garden is exposed, create a windbreak using bamboo stakes, plastic milk jugs (cut in half), or a row cover.
Position it on the windward side of your seedlings to shield them without blocking sunlight. This simple step can double your survival rate.
Finally, time your transplant for overcast days or early morning to avoid midday heat stress. Dig holes twice as wide as the seedling’s root ball and water deeply before transplanting.
Gently remove seedlings from their trays, loosen roots if they’re circling, and place them at the same depth they were growing indoors. Firm soil around the base to eliminate air pockets, then water again to settle the roots.
After transplanting, mulch around the base with straw or grass clippings to retain moisture and regulate soil temperature. Avoid fertilizing for 2 weeks—your seedlings need to focus on root establishment, not leafy growth.
With this 7-day hardening off process, your germinated seeds will transition from fragile sprouts to hardy plants ready to conquer your garden.
Signs your germinated seeds are ready for transplant (beyond the 7-Day rule)
While the 7-day hardening off rule is a great starting point, your seedlings may be ready earlier—or need more time—depending on their development stage and environmental conditions.
Ignoring these signs can lead to transplant shock or stunted growth. Instead of relying solely on time, focus on physical and environmental cues to determine the perfect moment.
First, check for true leaves—these are the second set of leaves that appear after the initial seed leaves (cotyledons). Seedlings with 2-4 true leaves typically handle transplanting well, but some hardy plants like tomatoes or peppers can thrive with just 2.
Avoid transplanting if leaves are still small, pale, or underdeveloped, as they won’t have enough energy to recover from the stress.
Next, examine the root structure. Gently remove the seedling from its tray to inspect the roots. If they’re crowded or circling the bottom of the pot, it’s a sign they’ve outgrown their container and need space.
Healthy roots should be white or light tan, not dark or mushy—a sign of overwatering or rot. If roots fill the root ball but aren’t circling, they may still need a few more days.
Don’t overlook the stem strength. A seedling with a thick, sturdy stem is far more resilient than one that’s thin and leggy. Leggy seedlings often develop when they don’t get enough light, making them prone to breaking during transplant.
If your seedlings are stretching toward the light, it’s time to increase light exposure or transplant sooner rather than later.
🌱 Key Signs Your Seedlings Are Ready
- True Leaves: 2-4 dark green true leaves (not seed leaves)
- Root Health: Roots fill container but aren’t circling or mushy
- Stem Strength: Thick, sturdy stems (not leggy or weak)
- Soil Temp: 60°F+ (use a soil thermometer)
- Frost Risk: No frost forecast for 2+ weeks
⏰ Pro Tip: Morning is the best time to transplant—seedlings recover faster from cool evening temps.
Environmental factors play a critical role too. Soil temperature is non-negotiable—most seedlings thrive when soil is at least 60°F. Use a soil thermometer to check, especially in cooler climates or early spring.
If your area is still at risk of frost, delay transplanting until the last frost date has passed. Even a light frost can kill tender seedlings, so always check your local weather forecast.
Finally, consider the plant variety. Some plants, like cool-season crops (lettuce, spinach), tolerate transplanting earlier than warm-season crops (tomatoes, peppers). If you’re growing heat-loving plants, wait until nighttime temperatures stay above 55°F to avoid transplant shock.
Always match the transplant timing to the plant’s natural growing season for the best results.
By focusing on these physical and environmental cues—rather than a rigid timeline—you’ll give your seedlings the best chance to thrive after transplanting. Pay attention to their growth signals, and don’t hesitate to adjust your schedule based on what you observe in your garden. 🌿