
Vegetables
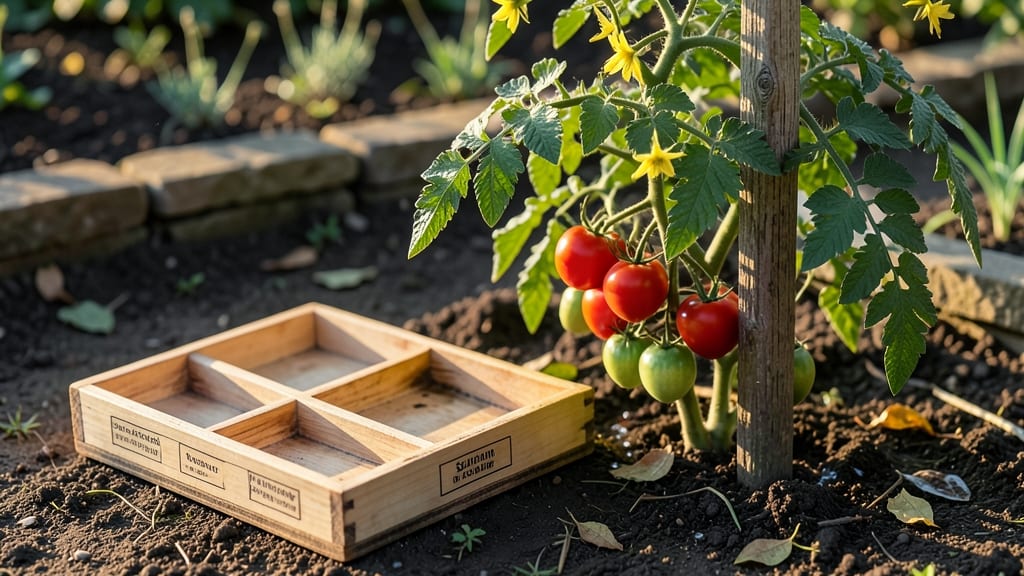
Storing tomato seeds properly saves you money and guarantees next year's garden starts with the best possible plants. 🌱 I learned the hard way that damp, improperly dried seeds lose viability fast—until I discovered the fermentation trick that keeps them fresh for years.
This method isn't just about tossing seeds in a bag; it's about creating the perfect conditions where they stay ready to sprout when you need them.
The secret lies in a simple fermentation process that removes the gel around seeds, followed by thorough drying and cool storage. You'll need ripe tomatoes, a jar, water, and a bit of patience—no fancy equipment required.
Most people skip the fermentation step entirely, which means their seeds often fail to germinate. When done right, you'll see germination rates above 90%, even after storing seeds for two years.
After drying, you'll package seeds in airtight containers with silica gel packets to control humidity. Labeling each variety with the date prevents confusion, and storing them in a cool, dark place (like your fridge) preserves their vigor.
The payoff? Next spring, you'll have healthy seedlings ready to grow into robust tomato plants that produce better than store-bought varieties.
This method works for heirloom, hybrid, and even cherry tomatoes—just adjust drying times based on humidity. Avoid common mistakes like rushing the drying process or storing seeds in damp environments. Test a few seeds before planting to confirm viability, and you'll always have a reliable seed supply for your garden.
📚 In This Guide
- What you need
- Instructions
- Tips and common mistakes
- Wrapping up and next steps
What you need
- ● Mature tomato seeds: Harvest from fully ripened tomatoes (or overripe ones!). Aim for 10–20 seeds per variety if testing viability.
- ● Clean glass jar (8–16 oz): A wide-mouth jar works best for easy scraping later.
- ● Water: Room-temperature, filtered if possible (chlorine can inhibit fermentation).
- ● Spoon or butter knife: For scraping out seeds after fermentation.
- ● Fine-mesh strainer or paper towel: To rinse and dry seeds.
- ● Paper plates or seed-saving envelopes: Labeled with the tomato variety and date.
- ● Pencil or marker: For labeling (use non-toxic ink!).
- ● Hydrogen peroxide (3%): 1 tsp per jar to sterilize seeds and remove gelatinous coating (boosts germination!).
- ● Small fan or dehumidifier: Speeds up drying if humidity is high.
- ● Seed viability test kit: For checking germination rates before planting.
- ● Notebook: Track varieties, storage dates, and germination success.
Step-by-Step instructions for storing tomato seeds
This fermentation trick boosts germination rates—here's how to save seeds from your best tomatoes.
🌱 Step 1: Extract Seeds from Ripe Tomatoes
Select fully ripe tomatoes with plump, healthy seeds. Slice them open and scoop out the gelatinous seed mass into a clean bowl. The seeds should be embedded in a slimy, translucent pulp—this is normal and helps separate viable seeds from non-viable ones. Avoid tomatoes that show signs of rot or disease, as those seeds may not germinate well.
Use a spoon to break up the seed mass, then add 1 cup of water to the bowl. Stir gently to create a seed-water slurry. This mixture will ferment over the next few days, which is key to separating good seeds from bad. The fermentation process helps kill weak or diseased seeds while leaving strong ones intact.
💧 Step 2: Ferment the Seeds for 2-3 Days
Cover the bowl with a clean cloth or paper towel and let it sit at room temperature for 2-3 days. You’ll notice bubbles forming and a foul odor developing—this is the fermentation process at work. The good seeds will sink to the bottom of the bowl, while empty or weak seeds will float to the surface.
Stir the mixture gently once a day to keep the seeds suspended and prevent mold growth. After 2 days, check the bowl. If most of the seeds have sunk and the water smells strongly (like vinegar or rotten fruit), it’s ready. If not, give it one more day. The fermentation process is complete when the water turns cloudy and the seeds separate clearly.
⏰ Step 3: Rinse and Dry the Seeds
Pour the mixture through a fine-mesh strainer or cheesecloth to separate the seeds from the water. Rinse the seeds under cool running water to remove any remaining pulp or debris. The seeds should now be clean and free of the slimy coating. Spread them out on a clean, dry paper towel or a seed-saving screen in a single layer.
Place the seeds in a warm, dry, and well-ventilated area. Avoid direct sunlight, as it can dry them too quickly and reduce viability. Stir or flip the seeds every few hours for the first day to ensure even drying. They’re ready when they’re completely dry and brittle to the touch—this usually takes 3-5 days. Once dry, they’ll crumble easily between your fingers.
🪴 Step 4: Store Seeds for Long-Term Viability
Transfer the dried seeds into a small, airtight container like a glass jar or envelope. Label the container with the tomato variety and the date of harvest. Store the container in a cool, dark place, such as a refrigerator or a seed storage box. Properly stored tomato seeds can remain viable for 4-6 years, though germination rates may decline slightly over time.
Keep the container in a location with stable humidity and temperature. Avoid storing seeds in the freezer unless you’re planning to keep them for more than 10 years, as frequent temperature fluctuations can reduce viability. Check the seeds periodically to ensure they remain dry and free of moisture or pests.
Tips & tricks for perfect tomato seed storage
A few simple tricks will help you maximize germination rates and avoid common pitfalls in this fermentation process.
The Fermentation Factor: That foul odor during the 2-3 day fermentation is completely normal—it's the fermentation process killing weak seeds. If you're squeamish about the smell, work near an open window or in a well-ventilated area. The stronger the vinegar-like smell, the more effective the fermentation process has been at separating good seeds from bad.
Timing is Everything: In Step 2, don't rush the fermentation process. The 2-3 days range is critical—after 2 days, check for cloudy water and strong odor. If it's not ready, give it that third day. Rushing can leave viable seeds contaminated with weak ones, while extending beyond 3 days risks mold growth. Stir gently once daily to keep seeds suspended and prevent mold.
Drying Secrets: When drying seeds in Step 3, avoid direct sunlight—it can dry them too quickly and reduce viability. Instead, place them in a warm, dry spot with good airflow. The seeds are ready when they crumble easily between your fingers, typically after 3-5 days. For even drying, consider using a seed-saving screen or a piece of window screen instead of paper towels.
Storage Wisdom: For long-term viability, store seeds in a cool, dark place like your refrigerator. The 4-6 year viability window assumes stable conditions—temperature fluctuations can reduce this. If you're storing for more than 10 years, consider using a seed storage box designed for stable humidity and temperature control. Always label your containers with the variety and date!
Pro Tips for Storing Tomato Seeds
- A few simple tricks will help you maximize germination rates and avoid common pitfalls in this fermentation process.
- The Fermentation Factor: That foul odor during the 2-3 day fermentation is completely normal—it's the fermentation process killing weak seeds.
- Timing is Everything: In Step 2, don't rush the fermentation process.
Frequently asked questions
Got questions about storing tomato seeds?
You’re not alone! Here are answers to the most common queries—from timing to troubleshooting—to help you save seeds like a pro.
How long can I store tomato seeds before planting?
Properly dried and stored tomato seeds can last 3–5 years in a cool, dark place (like a sealed container in the fridge or freezer). For best results, plant them within 1–2 years—viability drops over time, especially in humid climates. Fermented seeds tend to age better than those dried directly.
Do I need to ferment seeds if I’m storing them long-term?
Fermentation isn’t required for storage, but it’s highly recommended for 3+ years of viability. The process removes gelatinous seed coatings (common in heirloom tomatoes) that can mold or rot during storage. If you’re storing seeds for 1 year or less, thorough drying alone may suffice—but fermentation ensures cleaner, more reliable seeds.
What’s the best way to test if stored seeds are still viable?
Perform a simple paper towel germination test:
- Moisten a paper towel and place seeds 1 inch apart.
- Fold and seal in a plastic bag.
- Store in a warm (70–80°F) spot for 5–7 days.
Can I store tomato seeds in the freezer for extra longevity?
Yes! Freezing is a great option for long-term storage (up to 10+ years if done right). Use airtight containers or resealable bags with silica gel packets to absorb moisture. Label with the variety and date, then freeze. Thaw seeds at room temp before planting—no need to defrost overnight.
Why did my stored tomato seeds turn moldy or smell bad?
Mold or foul odors usually mean excess moisture or poor drying. Double-check these fixes:
- Redry seeds at 70–80°F for 3–5 days if they feel damp.
- Use silica gel packets or uncooked rice in storage containers to absorb humidity.
- Store in airtight, food-grade containers (avoid plastic bags alone).
- Ferment again if seeds were improperly cleaned initially.
Wrapping up and next steps
Storing tomato seeds through fermentation is a simple yet powerful way to preserve heirloom varieties and ensure strong, healthy plants next season. By harnessing the natural fermentation process, you not only boost seed viability but also save money and reduce waste—all while connecting with the timeless art of gardening. 🌱
Now that you’re equipped with the know-how, why not give it a try? Grab a ripe tomato, follow the steps, and experience the joy of growing your own plants from seeds you saved. Happy gardening—and may your tomatoes thrive for seasons to come! 🌿