
Size
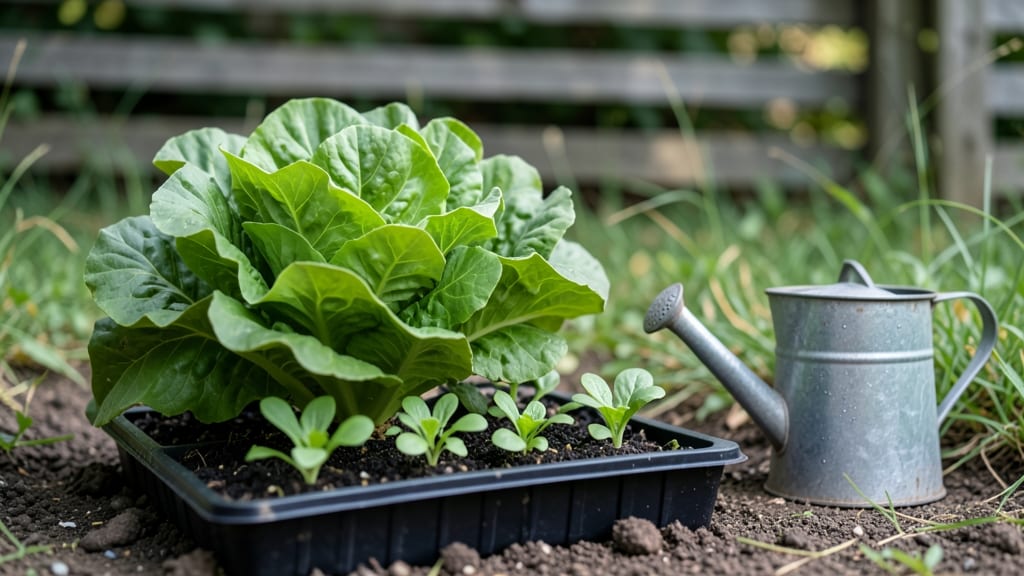
Growing seeds quickly starts with the right warmth and moisture tricks—no more waiting weeks for sprouts to peek through. 🌱 I’ve watched seeds go from dry shells to sturdy seedlings in half the usual time using these simple hacks, and the secret isn’t complicated: it’s all about mimicking the ideal conditions Mother Nature provides underground.
The key ingredients are a warm spot—think 75-85°F—and soil that stays consistently moist without being soggy. Pre-soaking seeds overnight cuts germination time even further, while a clear plastic dome or humidity tray traps warmth and keeps moisture where it belongs.
Even a basic heat mat under your seed tray can shave days off the process, especially for slow starters like tomatoes or peppers.
By the time you’re pinching off those first true leaves, you’ll be weeks ahead of the average gardener. The seedlings will be stocky, not leggy, and ready to handle transplanting without shock.
This isn’t just about speed—it’s about giving your plants the strongest possible start, so they hit the ground running.
Works for any seed type, from herbs to vegetables, and adapts to windowsills or grow lights. The only rule? Don’t rush the moisture—consistent dampness is what turns hesitation into growth. Let’s get those seeds moving faster than you thought possible.
📚 In This Guide
- What you need
- Instructions
- Tips and common mistakes
- Wrapping up and next steps
What you need
- ● Seeds: Choose fast-germinating varieties like radishes, beans, or lettuce (check seed packets for days-to-germinate estimates).
- ● Containers: Small pots (3–4 inches deep), seed trays, or even damp paper towels (for direct sowing). Use at least 1 container per seed type.
- ● Growing medium: Potting mix (sterilized, seed-starting blend preferred).
- ● OR a damp paper towel (for pre-sprouting).
- ● Water: Room-temperature or slightly warm (not hot!). A spray bottle or small watering can works best.
- ● Heat source: Heat mat (set to 70–85°F for optimal warmth).
- ● OR a sunny windowsill (south-facing, if possible).
- ● Clear lid or plastic wrap: To retain humidity (remove once sprouts appear!).
- ● Grow lights: LED or fluorescent (12–16 hours/day) for consistent light after sprouting.
- ● Humidity dome: A small greenhouse-like cover for extra moisture.
- ● Seed starter kit: Pre-made trays with drainage holes (saves setup time!).
- ● pH test kit: To ensure your soil is 6.0–7.0 (ideal for most seeds).
- ● Fertilizer: A diluted seaweed or fish emulsion (once seedlings have 2–3 leaves).
Step-by-step instructions for speeding seed germination
Here's my foolproof method to get seeds sprouting in record time—no fancy equipment needed.
🌱 Step 1: Prep Seeds for Maximum Germination Speed
Start by soaking seeds in lukewarm water for 12-24 hours to soften their outer coating. This trick works especially well for seeds with hard shells like peas or beans. Place them in a small bowl or jar, cover with water, and let them sit on your counter. You'll see some seeds swell noticeably—this means they're ready to break through the soil faster.
After soaking, drain the water and let the seeds sit for 30 minutes to dry slightly. This prevents them from sticking together when planting. I like to wrap them in a damp paper towel and place them in a sealed plastic bag overnight. This keeps them hydrated and warm, which mimics natural spring conditions. Check them in the morning—they should feel plump but not mushy.
💧 Step 2: Create the Perfect Moisture and Warmth Setup
Fill your seed-starting containers with the moistened seed-starting mix (never dry soil—it blocks water absorption). Press it down lightly so it's firm but not compacted. The goal is to create a cozy environment where seeds can drink up water without drowning. I like to use a spray bottle to mist the soil until it's damp all the way through—you should see moisture bead up on the surface but not pool.
Place the containers on a seedling heat mat set to 75-85°F. This warmth tricks seeds into thinking spring has arrived, speeding up germination by 2-3 days. Cover the containers with clear plastic wrap or a humidity dome to trap moisture. Check daily for condensation—if you see water droplets forming, your setup is working perfectly. Avoid lifting the cover to peek; every time you do, you lose precious warmth and moisture.
☀️ Step 3: Position for Optimal Light Without Overheating
Once seeds sprout, move them to a bright location with indirect light immediately. A south-facing window works well, but avoid direct sun until seedlings have 2-3 true leaves. Too much heat from the glass can scorch tender leaves. I place mine under a grow light on a 14-hour daily cycle—this mimics summer sunlight and prevents leggy growth.
Watch for the first true leaves (the second set after the initial seed leaves) to appear in 5-10 days. This is your signal that germination is complete. If you see seedlings stretching toward the light with pale, spindly stems, they need more intensity. Adjust the light so it's 2-3 inches above the tallest seedling. You'll see them perk up within 24 hours—stronger stems and darker green leaves mean they're thriving.
⏰ Step 4: Maintain Consistent Moisture Without Overwatering
After germination, water from the bottom by placing the containers in ½ inch of water for 10-15 minutes. This ensures roots drink up moisture without disturbing delicate seedlings. Check the soil daily—it should feel like a damp sponge, not a soggy rag. Overwatering at this stage is the fastest way to invite damping-off disease, which collapses seedlings overnight.
I like to use a spray bottle for gentle top-watering after the first true leaves appear. Mist the soil surface until it's evenly damp, avoiding the leaves themselves. You'll know you've got the moisture right when the soil looks dark and crumbly at the surface. This consistency keeps roots happy and prevents the stress that slows growth. Within 7-10 days of sprouting, you'll have sturdy seedlings ready for transplanting.
Tips & tricks for perfect seed germination speed
A few simple tricks can make all the difference when you're racing against time to get those first green shoots. Here's how to maximize your chances of success.
Soaking Strategy: For seeds with hard shells like peas or beans, the 12-24 hour soaking time is your secret weapon. I've found that using lukewarm water (not hot) prevents shocking the seeds while still softening that tough outer layer. After soaking, that 30-minute drying period prevents them from sticking together when you plant. Pro tip: If you're short on time, you can reduce the soaking to just 8 hours for most seeds—they'll still germinate faster than dry planting, but the 24-hour window gives you the absolute best results.
Heat Mat Hack: The 75-85°F range on your seedling heat mat is crucial because it mimics natural spring conditions that trigger germination. If you don't have a heat mat, place your containers on top of your refrigerator (not inside) for gentle warmth. I've even used a heating pad set to low under a towel—just make sure it stays consistent. Watch for condensation on the plastic wrap daily; if you see heavy droplets forming, your setup is working perfectly.
Light Positioning: That 14-hour grow light cycle is a game-changer for preventing leggy seedlings. Position the light so it's 2-3 inches above your tallest sprouts—this distance gives you the perfect balance of light intensity. If you notice seedlings stretching toward the light with pale stems, they're begging for more light. I like to adjust the height every few days as they grow. The first true leaves should appear within 5-10 days, signaling germination is complete.
Moisture Maintenance: The 10-15 minute bottom-watering technique is my favorite because it prevents disturbing delicate seedlings while ensuring roots get exactly what they need. For top-watering after true leaves appear, use a spray bottle to mist just the soil surface—avoiding the leaves prevents fungal issues. You'll know you've got the moisture right when the soil looks dark and crumbly at the surface, not wet and compacted.
Pro Tips for Grow Seeds Quickly
- A few simple tricks can make all the difference when you're racing against time to get those first green shoots.
- Soaking Strategy: For seeds with hard shells like peas or beans, the 12-24 hour soaking time is your secret weapon.
- Heat Mat Hack: The 75-85°F range on your seedling heat mat is crucial because it mimics natural spring conditions that trigger germination.
Frequently asked questions
Got questions about speeding up seed germination? You’re not alone! Here are some of the most common queries—and their quick, practical answers—to help you grow seeds faster without the guesswork.
How long does it take for seeds to germinate with these tricks?
Germination time varies by plant, but with warmth (70–90°F) and moisture, many seeds sprout in 3–7 days. Fast growers like radishes or beans may pop up in 2–4 days, while slower ones (like tomatoes) take 7–14 days. Monitor soil moisture—consistency is key!
What if my seeds aren’t sprouting after a week?
Don’t panic! Try these fixes:
- Check moisture: Soil should feel like a damp sponge. Overwatering can suffocate seeds.
- Adjust warmth: Move to a warmer spot (like a sunny windowsill or seedling heat mat).
- Test viability: Soak a few seeds in water overnight—if they sink, they’re likely viable.
- Scratch the test: Gently nick the seed coat (for hard shells like peas) to help water penetrate.
Can I use a hairdryer or lamp to speed up germination?
Yes! A low-heat hairdryer (on cool setting) or a grow light can boost warmth, but avoid direct heat—keep it 6–12 inches away to prevent drying. A seedling heat mat ($10–$20) is a safer, hands-off option for consistent warmth.
Are there any seeds that won’t germinate faster with these methods?
Some seeds are stubborn! Large seeds (like squash or beans) or those with thick coats (e.g., sunflowers) may need scarification (scratching) or stratification (cold treatment). Always check the seed packet—it’s your best guide!
What’s the cheapest way to create a warm, moist environment?
Skip the fancy gear! Use a:
- Plastic wrap: Cover the tray to trap moisture (remove once sprouts appear).
- Paper towel trick: Moisten a towel, sandwich seeds between two, and place in a sealed bag on a warm counter.
- DIY heat source: Nestle the tray in a cardboard box with a warm (not hot) water bottle inside.
Wrapping up and next steps
Growing seeds quickly is all about harnessing the right conditions—warmth, moisture, and a little patience! 🌱 With these simple tricks, you can speed up germination and enjoy fresh sprouts in no time.
Whether you’re a seasoned gardener or just starting out, these methods make it easy to bring life to your seeds faster than ever.
Now that you’re armed with the knowledge, why not try it today? Grab those seeds, set up your warm spot, and watch your garden thrive! For even more tips, explore seed-starting guides or dive into container gardening to maximize your green space. Happy growing! 🌿